Easy Cake Pop Recipe for Beginners in 7 Steps
Cake pops are the ultimate crowd-pleaser—bite-sized, colorful, and perfect for any occasion. Whether you’re hosting a birthday party or just craving a sweet treat, this easy cake pop recipe will guide you step-by-step. With simple ingredients like cake mix, frosting, and candy melts, you’ll create homemade cake pops that look as good as they taste. Ready to impress your friends and family? Let’s dive in!
Table of Contents
What Are Cake Pops?
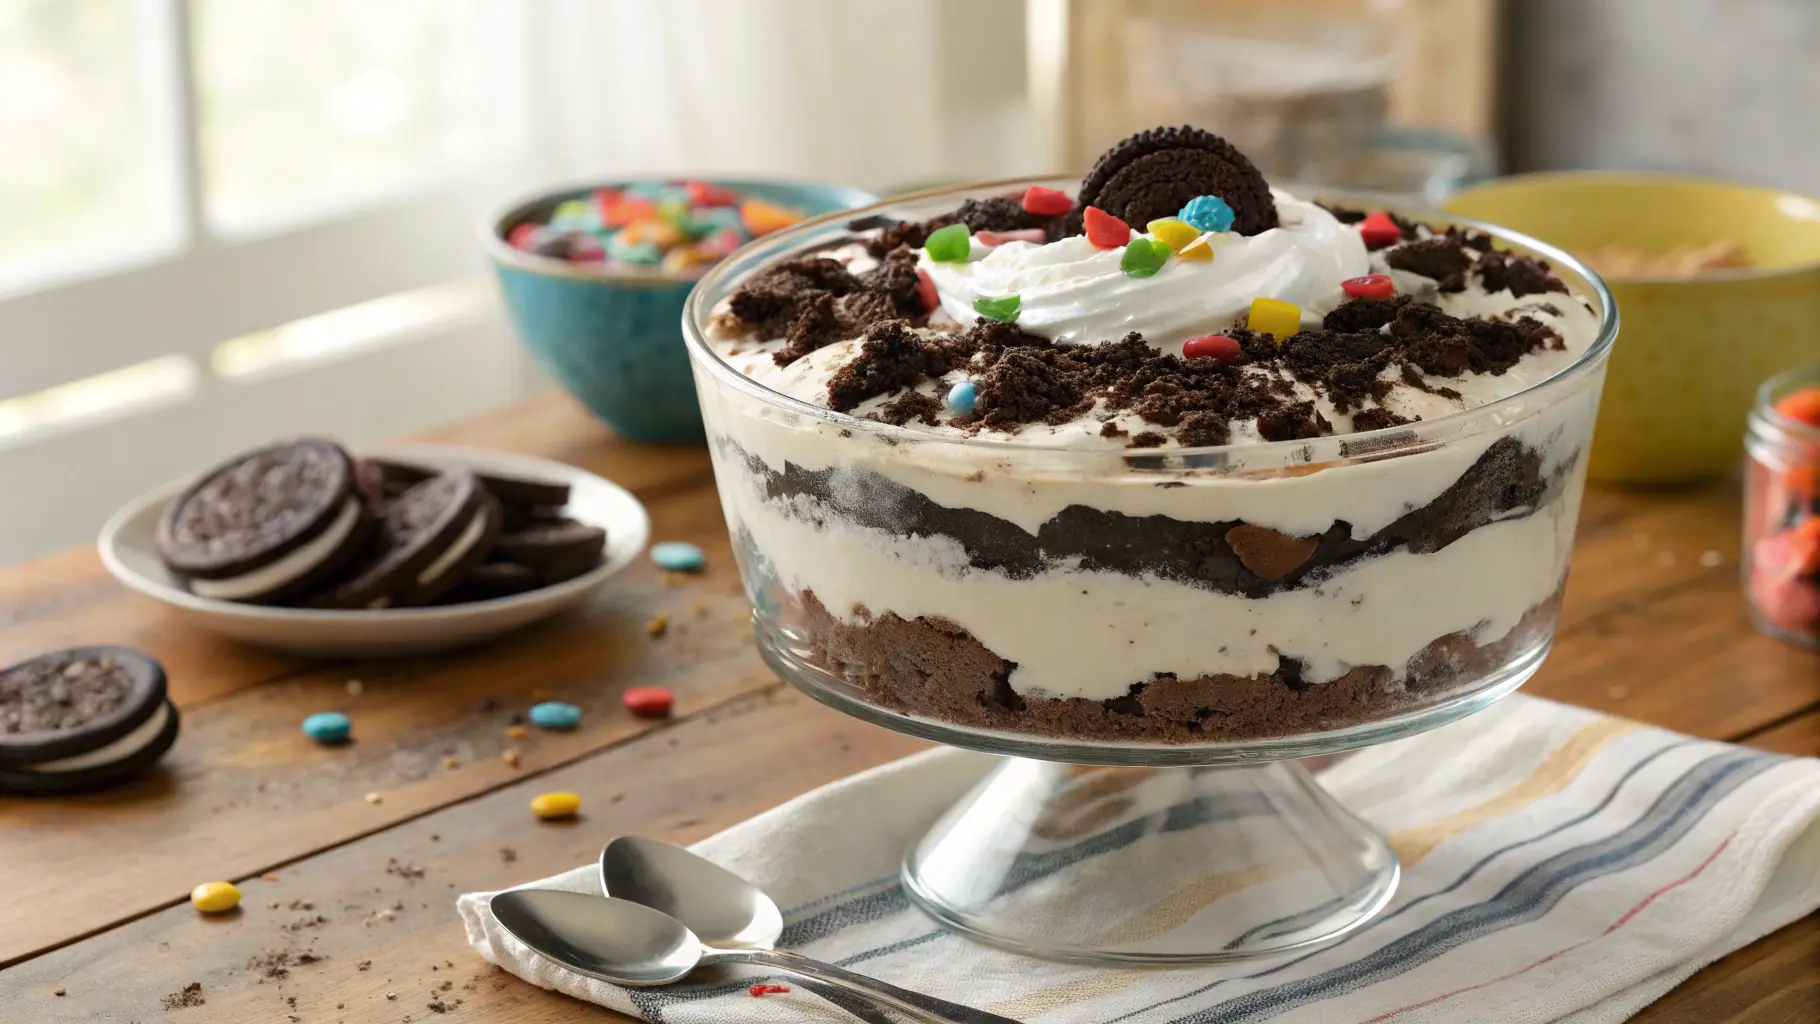
Cake pops are small balls of crumbled cake mixed with frosting, coated in candy or chocolate, and served on lollipop sticks. They’re versatile, portable, and endlessly customizable, making them a hit at kids’ parties, weddings, or holidays. For example, you can shape them into fun designs like snowmen for Christmas or hearts for Valentine’s Day.
Why are cake pops so popular? They combine the moist flavor of cake with a smooth, candy coating, all in a single bite. Plus, they’re easy to share and display, often set in a styrofoam block or cardboard box for a professional look.
Why Make Homemade Cake Pops?
Homemade cake pops let you control the flavors and designs, unlike store-bought versions. They’re also budget-friendly, using basic ingredients like box cake mix or leftover cake. According to baking blogs like Sally’s Baking Addiction, homemade treats often taste fresher and allow for creative touches, such as custom sprinkles or themed decorations.
Making cake pops is also a fun activity for families or friends. You can involve kids in rolling the dough or decorating with colorful candy melts. Ready to get started? Here’s everything you need to know.
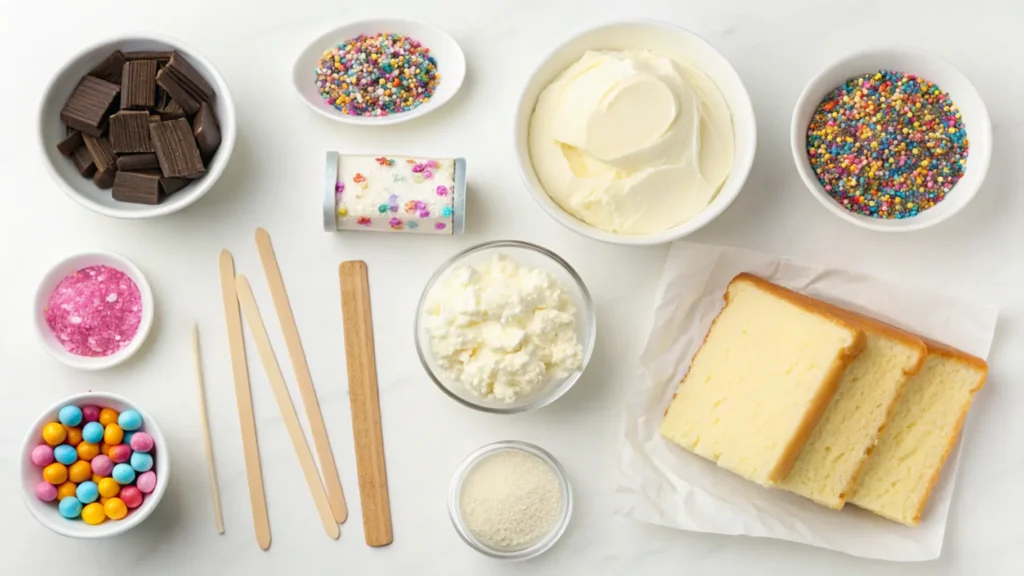
Ingredients for a Basic Cake Pop Recipe
Before you begin, gather these simple ingredients. Most are pantry staples, and you can find them at any grocery store.
- Cake: One 9×13-inch baked cake (box cake mix or homemade, any flavor like vanilla, chocolate, or red velvet).
- Frosting: 1/2 cup of frosting (buttercream or cream cheese works best; use store-bought or homemade).
- Candy Melts: 16 ounces of candy melts or chocolate coating (available in various colors).
- Lollipop Sticks: 20–30 sticks, depending on your batch size.
- Sprinkles: Optional, for decoration (choose colors or shapes to match your theme).
- Vegetable Oil: 1–2 tablespoons to thin the candy coating, if needed.
Pro Tip: Keep ingredients at room temperature for easier mixing. Cold cake or frosting can make the dough too stiff.
Equipment You’ll Need
You don’t need fancy tools to make cake pops, but these items make the process smoother:
- Mixing Bowl: For crumbling and mixing the cake.
- Baking Sheet: To chill the cake balls.
- Microwave-Safe Bowl: For melting candy melts.
- Styrofoam Block or Cardboard Box: To hold cake pops while the chocolate sets.
- Spoon or Cookie Scoop: For shaping uniform balls.
- Stand Mixer (Optional): Helps crumble the cake evenly, but hands work fine too.
Step-by-Step Cake Pop Recipe
Follow these steps to create perfect homemade cake pops. This recipe yields about 20–25 cake pops, depending on size.
Step 1: Bake and Cool the Cake
Prepare a 9×13-inch cake with a store-bought mix or a homemade recipe. Vanilla, chocolate, or white cake are great options. Let the cake reach room temperature completely, which usually takes 1–2 hours. A warm cake can make the dough soggy, so don’t skip this step.
Step 2: Crumble the Cake
Break the cooled cake into fine cake crumbs in a large mixing bowl. Break the cake into crumbs by hand or with a stand mixer to achieve a fine, even consistency. Remove any hard edges or crusts to keep the crumbs soft and even.

Step 3: Mix with Frosting
Add 1/4 cup of frosting to the cake crumbs and mix well. Gradually add more frosting, up to 1/2 cup, until the mixture holds together like dough. Avoid using excess frosting, as it can cause the cake pops to become overly soft.
Tip: Test the texture by rolling a small ball. If it holds its shape without cracking, it’s perfect.
Step 4: Shape the Cake Balls
Portion the dough using a cookie scoop or spoon, form each into a 1-inch ball, and place on a parchment-lined baking tray. Aim for uniform sizes to ensure even dipping later. Chill the balls in the refrigerator for 1–2 hours or the freezer for 15–20 minutes to firm them up.
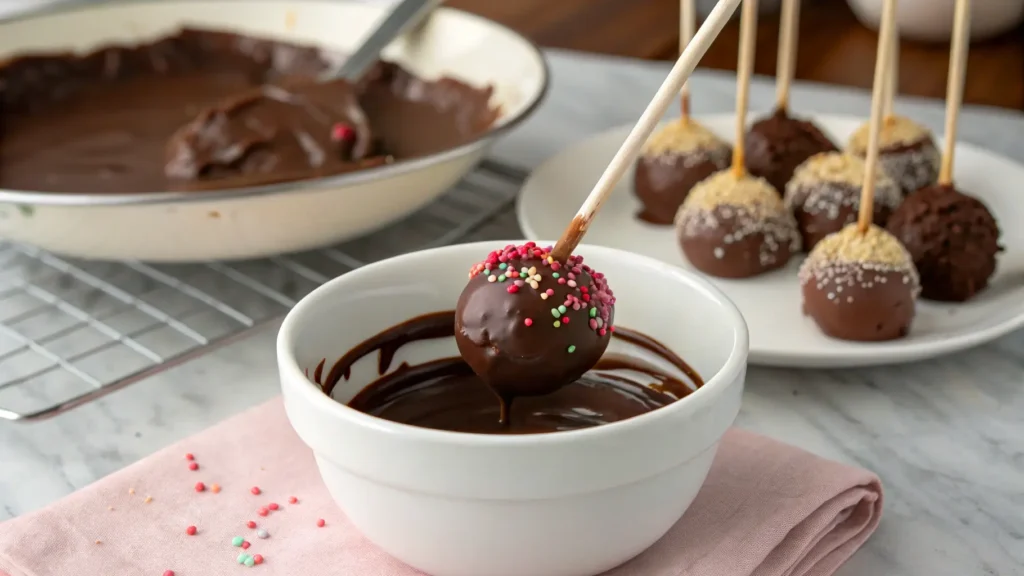
Step 5: Melt the Candy Coating
In a microwave-safe bowl, melt 16 ounces of candy melts in 30-second intervals, stirring between each. Add 1–2 tablespoons of vegetable oil if the coating is too thick. The melted chocolate should be smooth and pourable for easy dipping.
Step 6: Dip the Cake Pops
Push a lollipop stick halfway into each cooled cake ball. Dip the tip of the stick in melted candy coating first to act as “glue.” Then, fully dip each ball into the candy melts, gently tapping off excess coating. Work quickly but carefully to avoid crumbling.
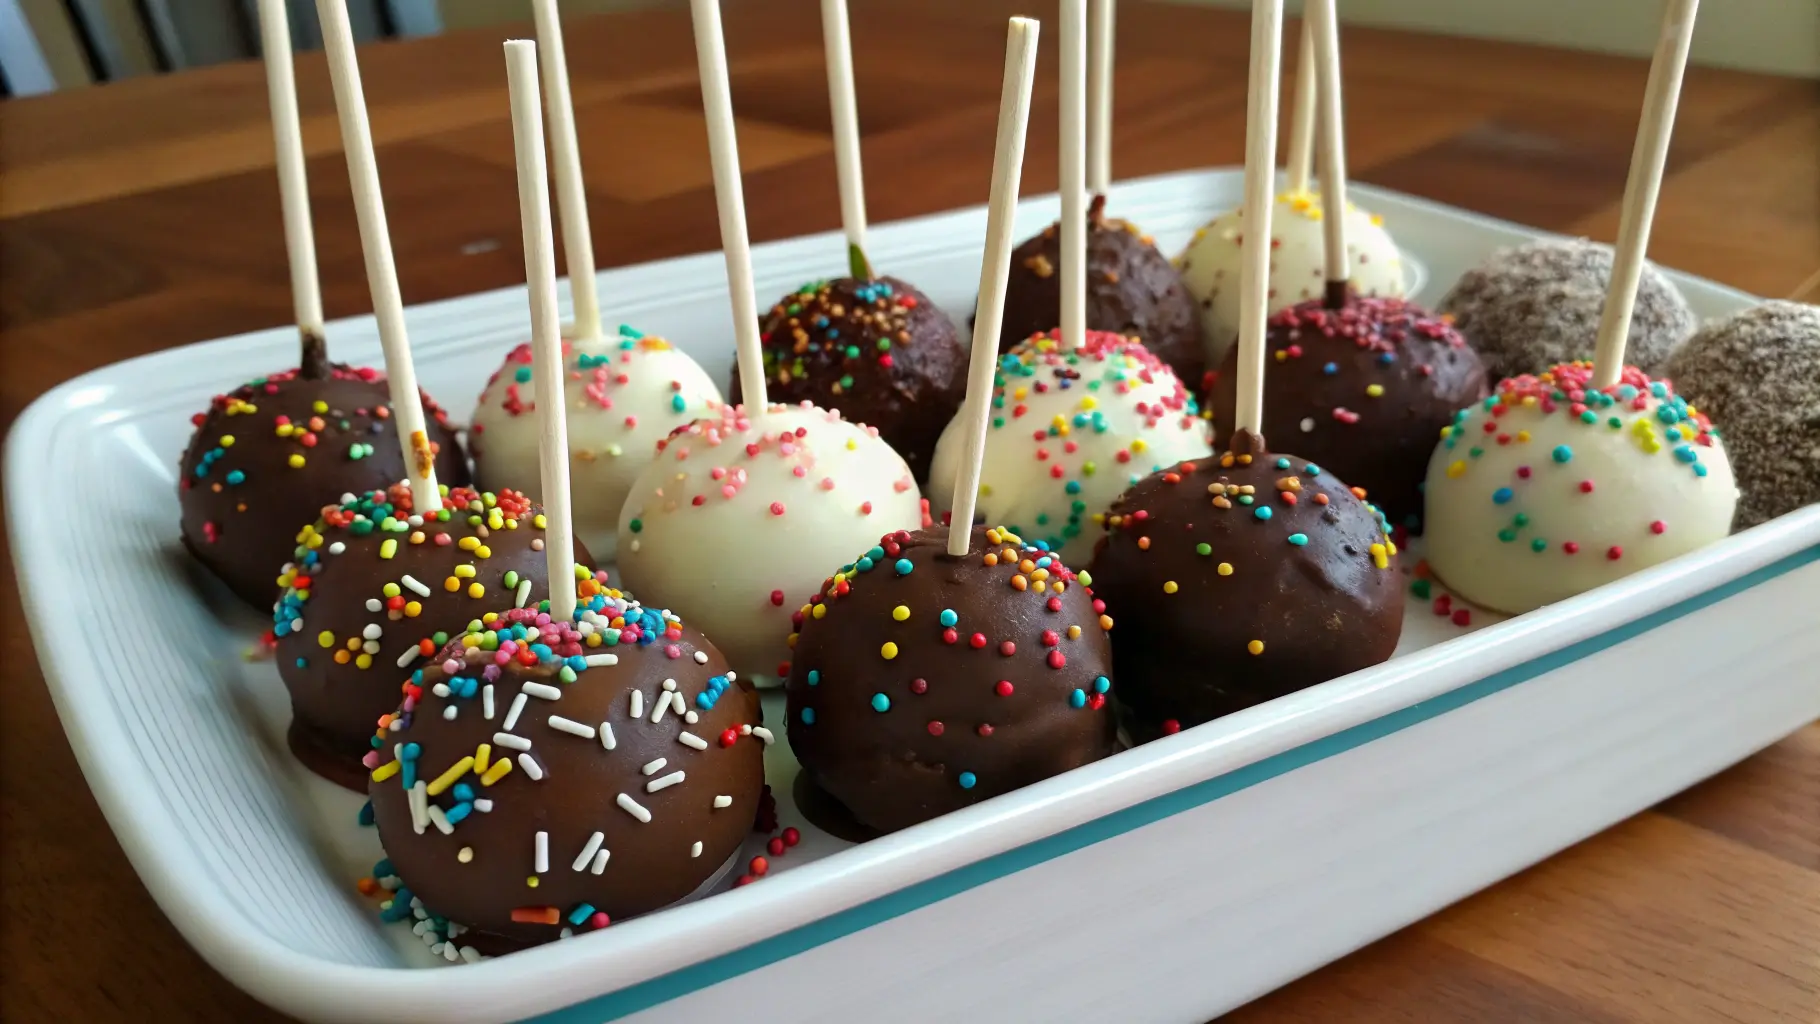
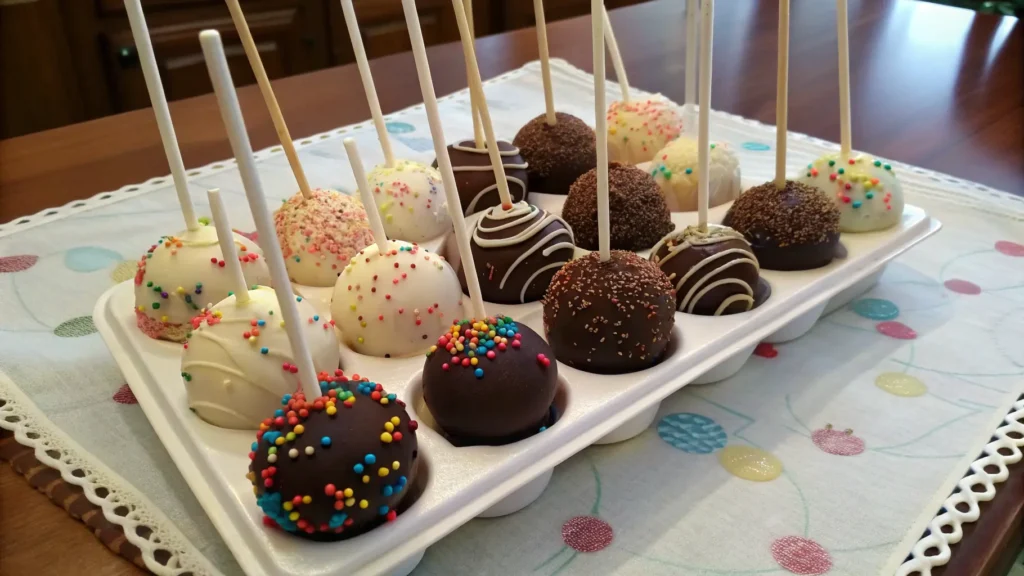
Step 7: Decorate and Set
While the coating is wet, add sprinkles or other decorations. Place the cake pop upright in a styrofoam block or cardboard box to let the chocolate set, which takes about 30–60 minutes at room temperature. Avoid refrigerating during this step, as it can cause condensation and ruin the finish.
Yield: About 20–25 cake pops, ready to serve or store.
Tips for Perfect Cake Pops
Follow these pro tips to make your cake pops perfect:
- Chill Thoroughly: Cold cake balls hold their shape better during dipping.
- Use Candy Melts: They’re easier to work with than regular chocolate and come in fun colors.
- Dip Sticks First: A dab of candy coating on the stick prevents the cake pop from sliding off.
- Tap Gently: Remove excess coating to avoid a clumpy look.
- Store Properly: Keep cake pops in a sealed container at room temperature for up to 3 days or refrigerate for up to 7 days.
Creative Cake Pop Variations
One of the best things about cake pops is their versatility. You can customize them for any occasion or taste. Here are some ideas to inspire you:
Flavor Variations
- Chocolate Cake Pops: Use chocolate cake and dark chocolate coating for a rich treat.
- Vanilla Cake Pops: Pair with white candy melts for a classic look.
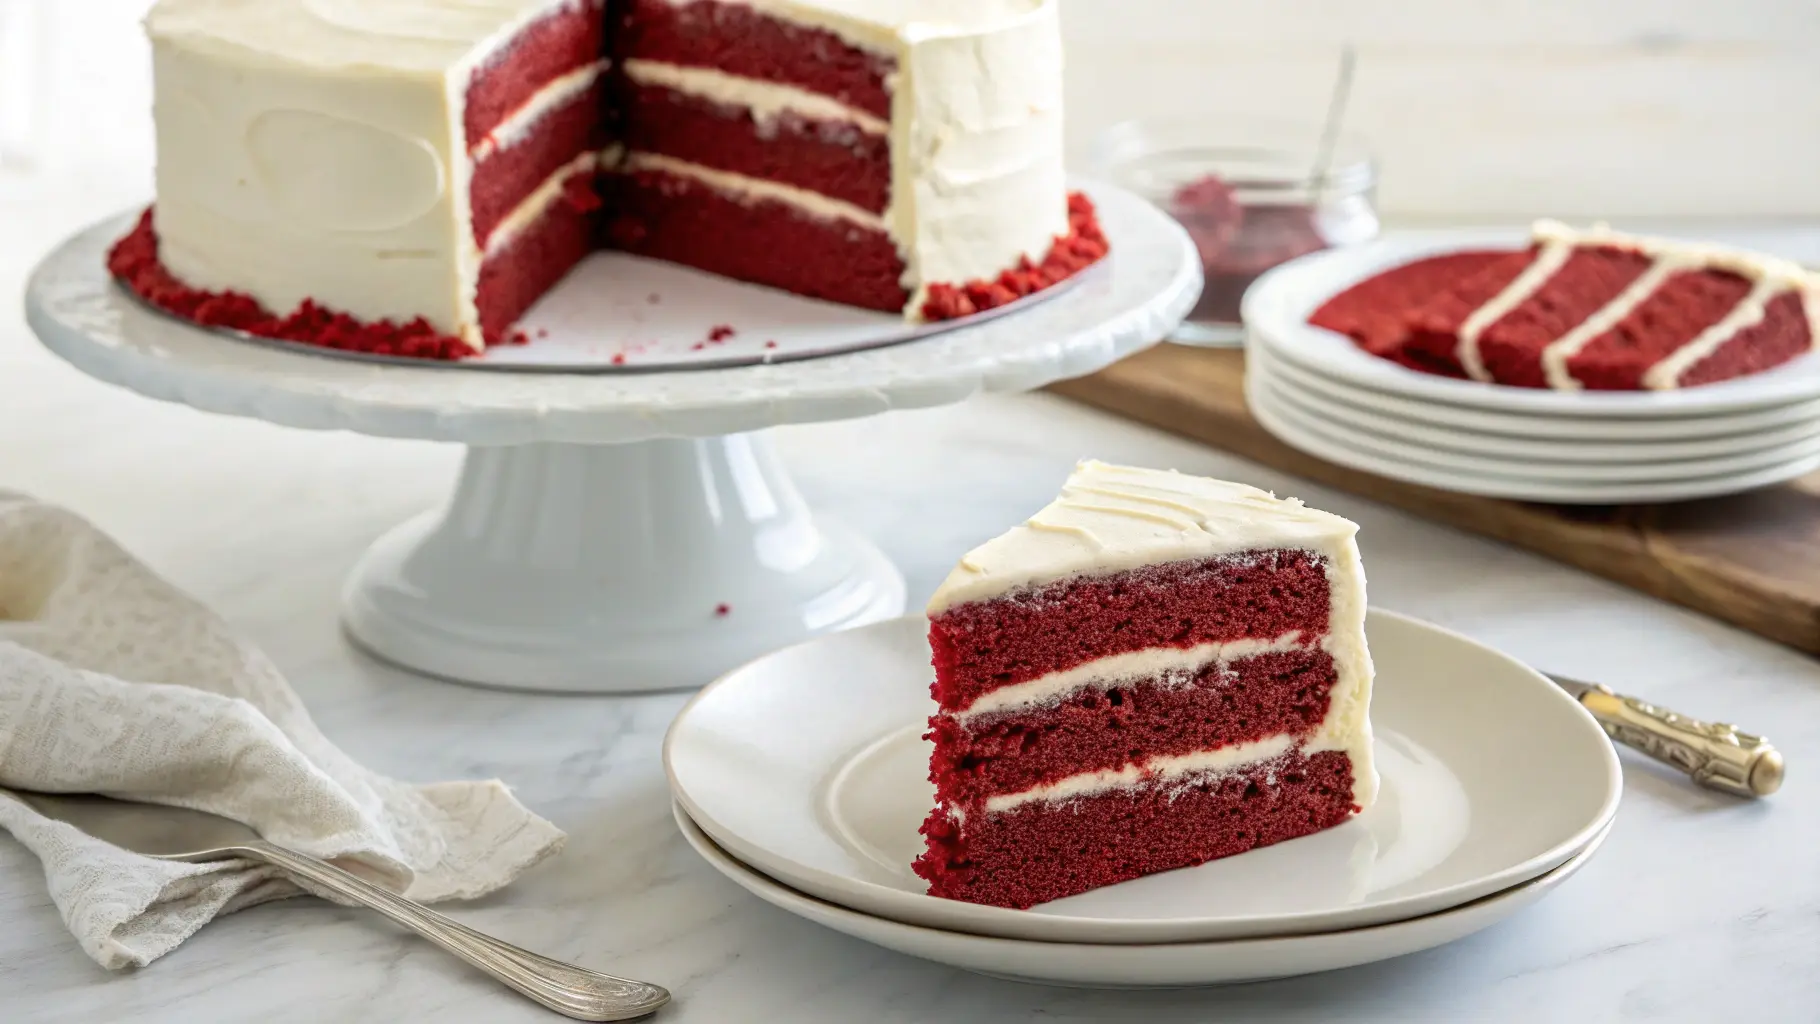
- Red Velvet: Add cream cheese frosting and red sprinkles for a festive vibe.
- Funfetti: Mix in colorful sprinkles for a party-ready dessert.
Themed Designs
- Holiday Themes: Shape cake pops into snowmen for Christmas or pumpkins for Halloween.
- Kids’ Parties: Create unicorn or dinosaur designs with food coloring and edible decorations.
- Weddings or Showers: Use elegant white chocolate and gold sprinkles for a sophisticated touch.
Dietary Options
- Van Cake Pops: Use plant-based cake mix and frosting with dairy-free candy melts.
- Gluten-Free: Opt for gluten-free cake mix and check that candy melts are safe.
These variations make your cake pops memorable and fun to share.
Troubleshooting Common Cake Pop Problems
Even experienced bakers run into issues. Here’s how to fix the most common cake pop problems:
Why Do My Cake Pops Slide Off the Lollipop Stick?
This happens if the stick isn’t secured properly. Always dip the stick in candy coating before inserting it into the cake ball. Chilling the balls also helps them grip the stick better.
Why Is My Coating Lumpy?
Lumpy candy coating is often too thick. Thin it with a bit of vegetable oil and stir well. Also, ensure the coating isn’t too hot, as heat can cause uneven textures.
Why Do My Cake Pops Fall Apart?
If your cake pops crumble during dipping, the dough might be too wet or not chilled enough. Use less frosting (start with 1/4 cup) and chill the balls for at least an hour. A firm dough holds up better.
Storing and Serving Cake Pops
Keep cake pops in a sealed container at room temperature for up to 3 days or refrigerate for up to 7 days. For longer storage, freeze undecorated cake balls for up to a month, then dip and decorate when ready to serve.
To display, use a styrofoam block or a decorated cardboard box for a professional look. Cake pops are perfect for gifting—wrap them in clear bags with ribbons for a thoughtful touch.
Why Cake Pops Are Perfect for Any Occasion
Cake pops are not just a treat—they’re a fun way to express your creativity. You can tailor them to any event, from kids’ birthdays to elegant weddings. Their small size makes them easy to eat, and their cute appearance sparks joy. Plus, they’re affordable to make in large batches, with a box cake mix costing about $2–$3 and yielding dozens of pops.
Have you ever tried making cake pops for a special event? If not, this recipe is a great starting point. You’ll love how easy it is to customize them for any crowd.
Enhancing Your Blog Post with Additional Research
To make your article even more valuable, consider adding insights from recent trends or user feedback. You could explore baking blogs like Bakerella or Allrecipes for new flavor ideas or check X for posts about creative cake pop designs (e.g., search “cake pop ideas” or “holiday cake pops”). These sources might reveal trending themes, like superhero cake pops or eco-friendly packaging tips, to keep your content fresh and unique.
Conclusion: Get Baking Today!
This easy cake pop recipe is your ticket to creating delicious, eye-catching treats that everyone will love. With simple ingredients like box cake mix, frosting, and candy melts, you can whip up a batch in just a few hours. Whether you’re making chocolate cake pops for a party or themed designs for a holiday, the possibilities are endless. So, grab your mixing bowl and lollipop sticks, and start creating your own homemade cake pops today!
Call to Action: Try this cake pop recipe for your next event and share your creations in the comments below. What flavors or designs will you try?

Easy Cake Pop Recipe
Ingredients
- -1 9×13-inch baked cake (box cake mix or homemade, vanilla, chocolate, or red velvet)
- – 1/2 cup frosting buttercream or cream cheese, store-bought or homemade
- – 16 ounces candy melts chocolate or colored
- – 20-30 lollipop sticks
- – 1/4 cup sprinkles optional, for decoration
- – 1-2 tablespoons vegetable oil optional, to thin candy coating
Instructions
- Bake and Cool Cake: Prepare a 9×13-inch cake using a box mix or homemade recipe. Let it cool completely at room temperature (1-2 hours) to prevent soggy dough.
- Crumble Cake: Break the cooled cake into fine crumbs in a large mixing bowl using your hands or a stand mixer. Remove any hard edges or crusts for a soft texture.
- Mix with Frosting: Add 1/4 cup frosting to the crumbs and mix well. Gradually add up to 1/2 cup until the mixture forms a dough-like consistency that holds together.
- Shape Cake Balls: Use a cookie scoop or spoon to portion the dough. Roll into 1-inch balls and place on a parchment-lined baking tray. Chill in the refrigerator for 1-2 hours or freezer for 15-20 minutes to firm up.
- Melt Candy Coating: In a microwave-safe bowl, melt 16 ounces of candy melts in 30-second intervals, stirring between each. Add 1-2 tablespoons vegetable oil if too thick, until smooth and pourable.
- Insert Sticks: Dip the tip of each lollipop stick in melted candy coating and insert halfway into a chilled cake ball to secure it.
- Dip Cake Pops: Fully dip each cake ball into the candy melts, gently tapping to remove excess coating. Work quickly to avoid crumbling.
- Decorate and Set: Add sprinkles while the coating is wet. Place the cake pop upright in a styrofoam block or cardboard box to set at room temperature (30-60 minutes).
Notes
- Use any cake flavor (red velvet, lemon, or funfetti) for variety.
- Substitute cream cheese frosting with buttercream or chocolate ganache for different textures.
- For a smoother coating, ensure candy melts are fully melted and at a pourable consistency.
- Chill cake balls thoroughly to prevent them from falling off the sticks during dipping.
- Add food coloring to white candy melts for themed cake pops (e.g., blue for baby showers).
- Calories: 150 kcal
- Fat: 7g
- Saturated Fat: 4g
- Carbohydrates: 20g
- Sugar: 15g
- Protein: 1g
Note: Nutrition values are estimates and vary based on cake mix and frosting used.